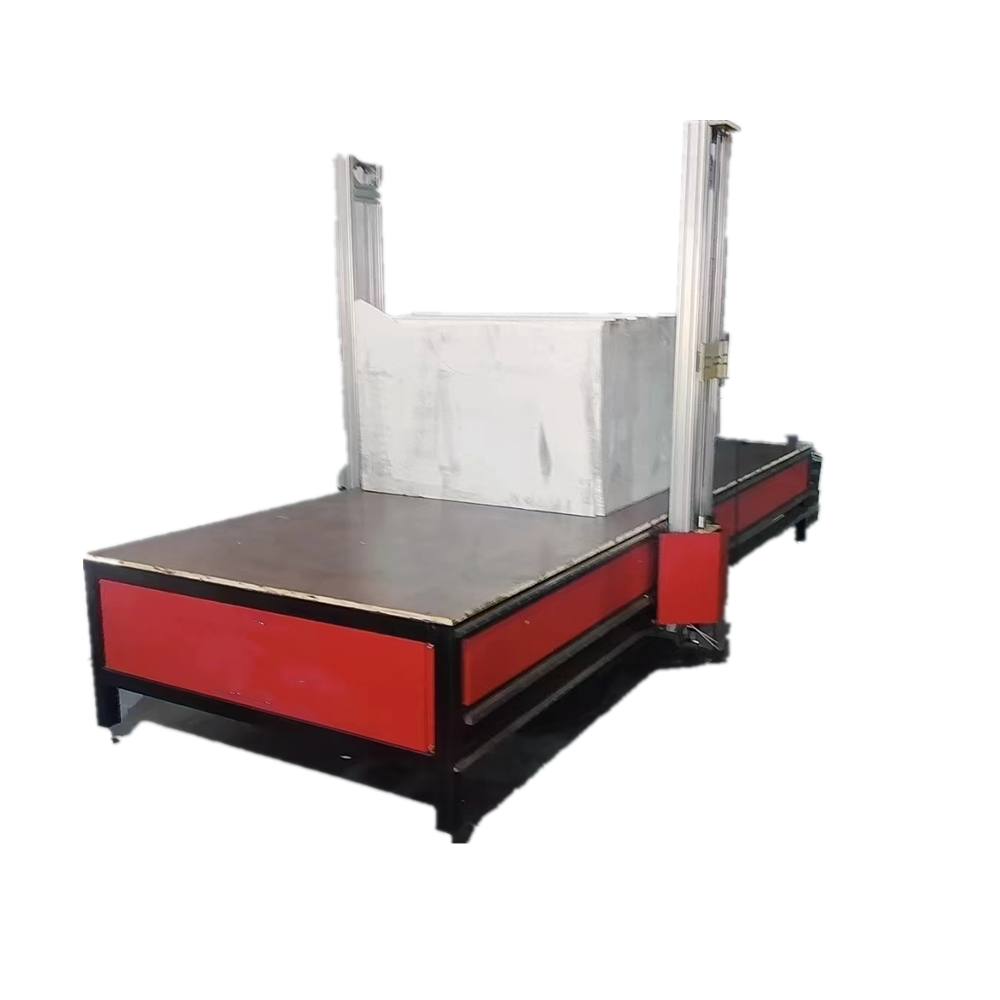
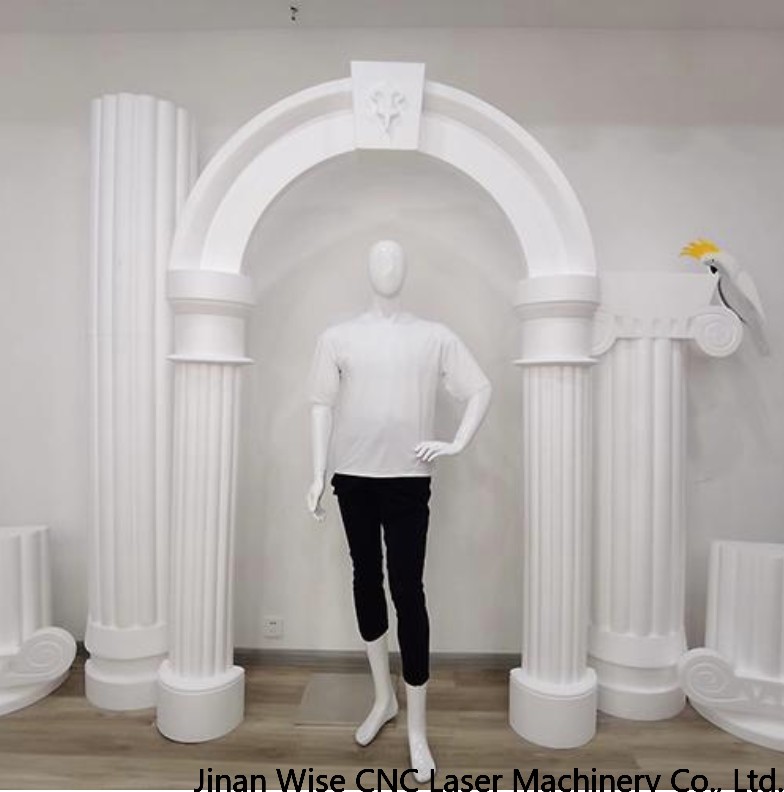
EPS Roman cap is a common element in architectural and wedding decoration. Its unique shape and elegant lines give the building more artistic flavor. When making EPS Roman cap, we need to follow certain steps and techniques to ensure that the final effect meets the expectations.
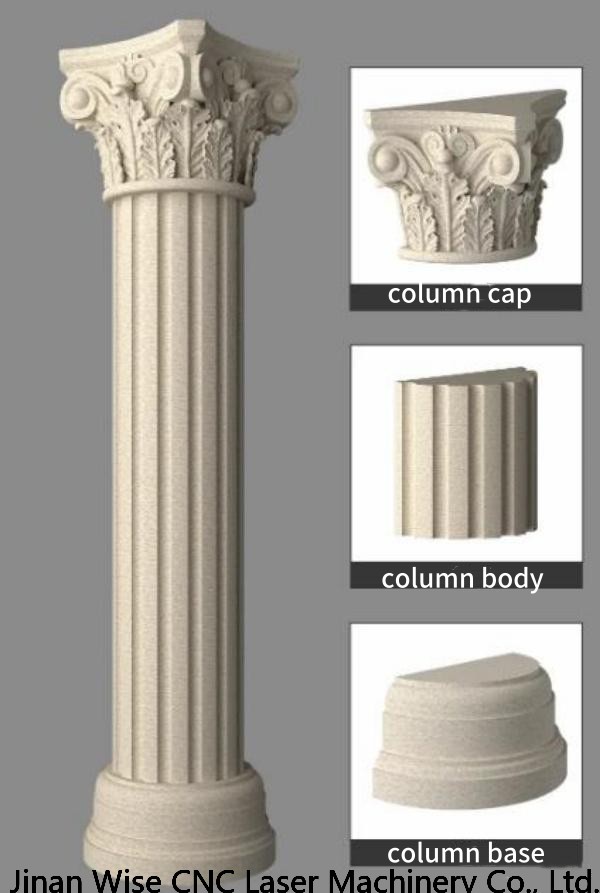
Step1: Prepare tools and materials:
Before starting production, we need to prepare the following tools and materials:
1. EPS material: Select high-quality EPS material to ensure that its density and strength are moderate for subsequent processing and installation.
2. Cutting tools: such as utility knives, electric saws, etc., used to cut EPS materials into required shapes and sizes.
3. Carving tools: such as carving knives, sandpaper, etc., used to carve and modify EPS materials in detail.
4. Adhesive: Select an adhesive suitable for EPS materials to ensure a firm connection and not easy to fall off.
5. Protective equipment: such as gloves, masks, etc., to protect the safety of the maker.
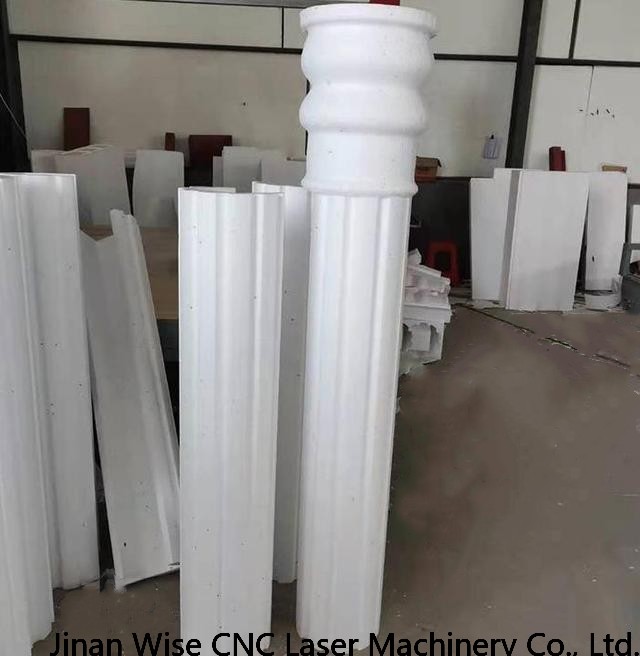
Step2: Design and make templates:
Draw the corresponding template according to the shape and design requirements of the Roman pillar column. You can use drawings or draw directly on EPS materials. During the drawing process, pay attention to the accuracy of proportions and dimensions to ensure that the final Roman column meets the design requirements.
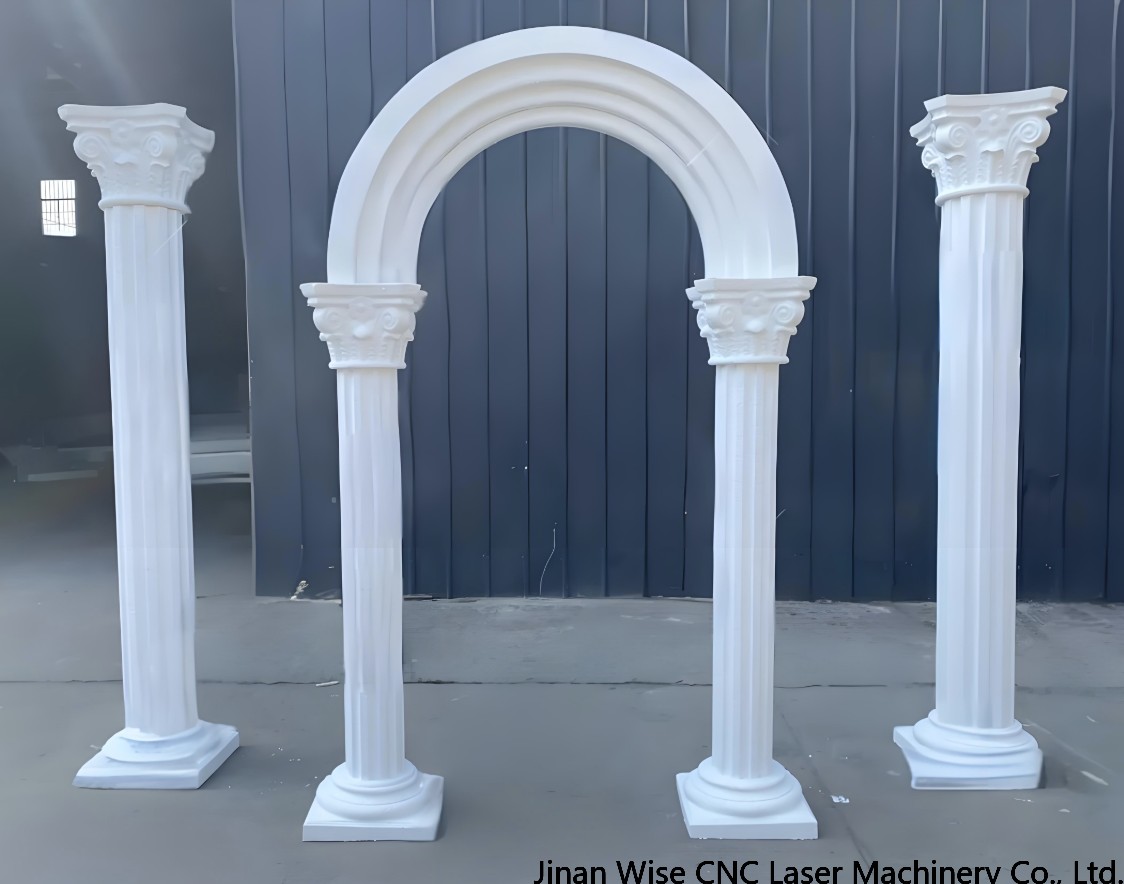
Step3: Cutting EPS materials
Cut the EPS materials according to the shape and size of the template. During the cutting process, keep the knife sharp and stable to ensure the flatness and smoothness of the cutting surface. After cutting, the cutting surface needs to be polished to remove burrs and uneven parts.
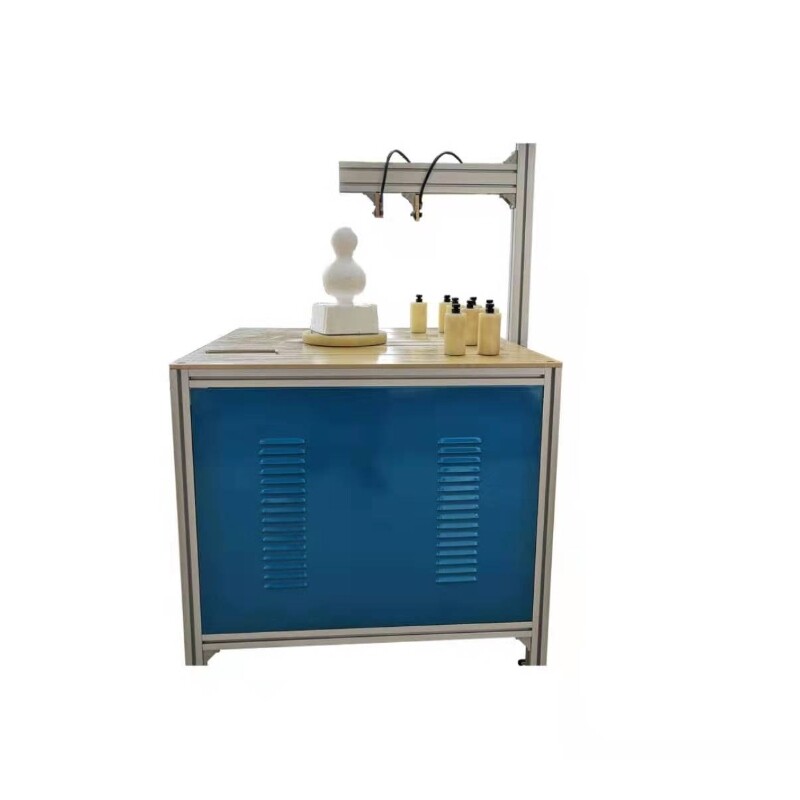
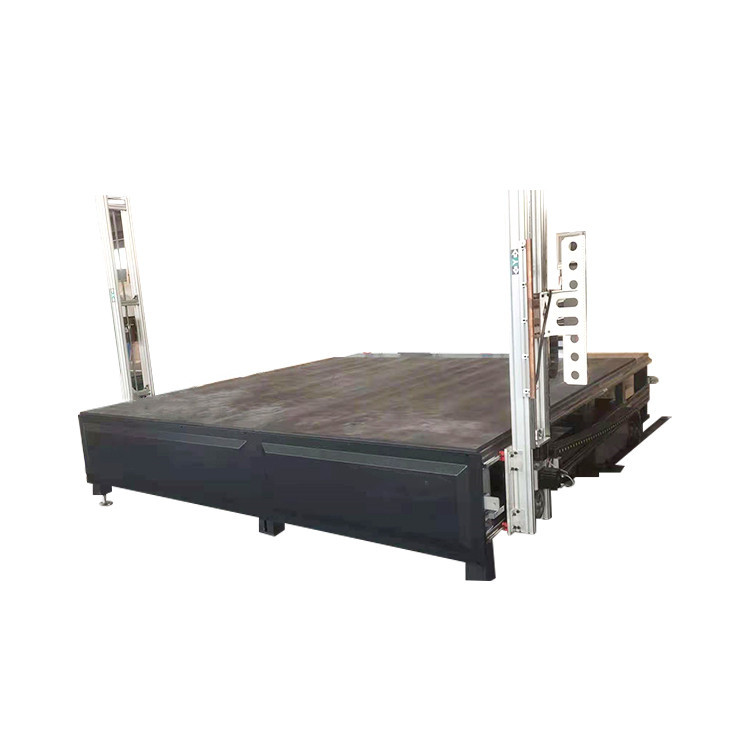
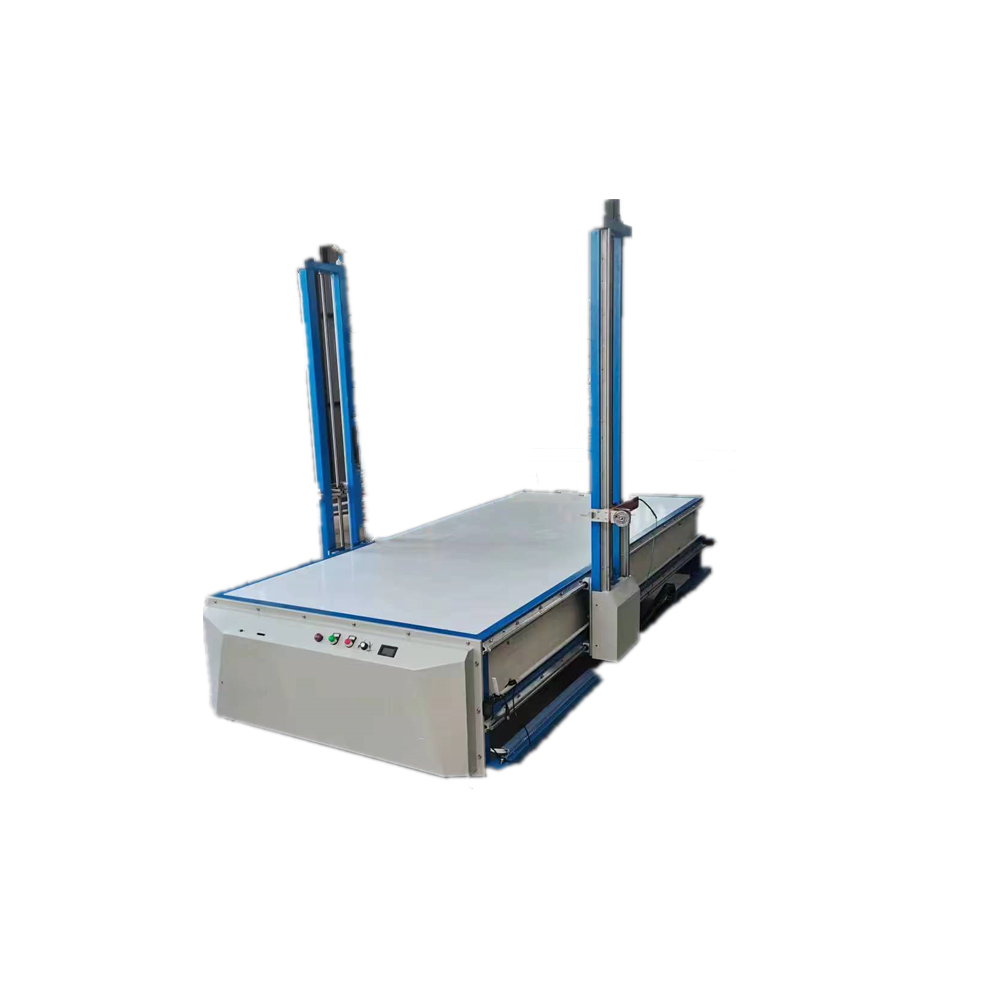
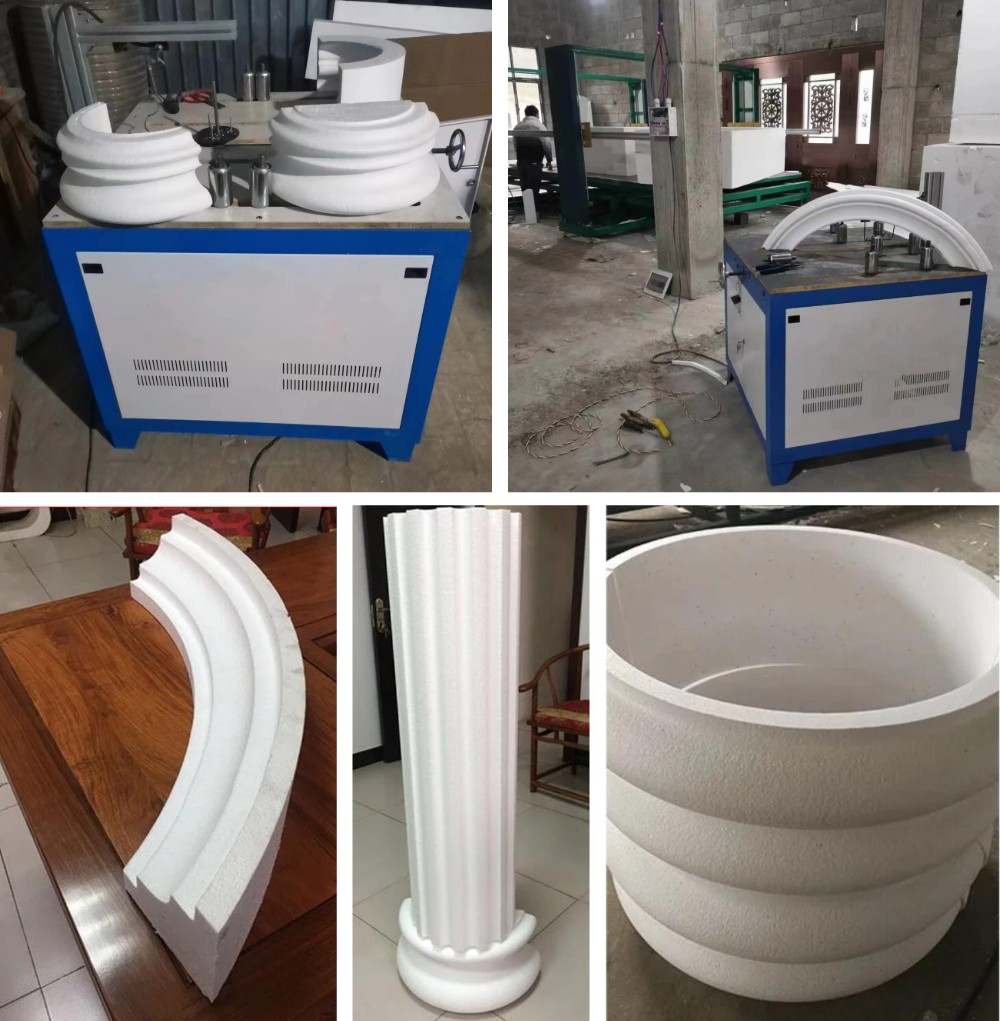
Can use our Arch Shape foam cutter to cut roma pillar colimn cap
Step 4: Engraving details
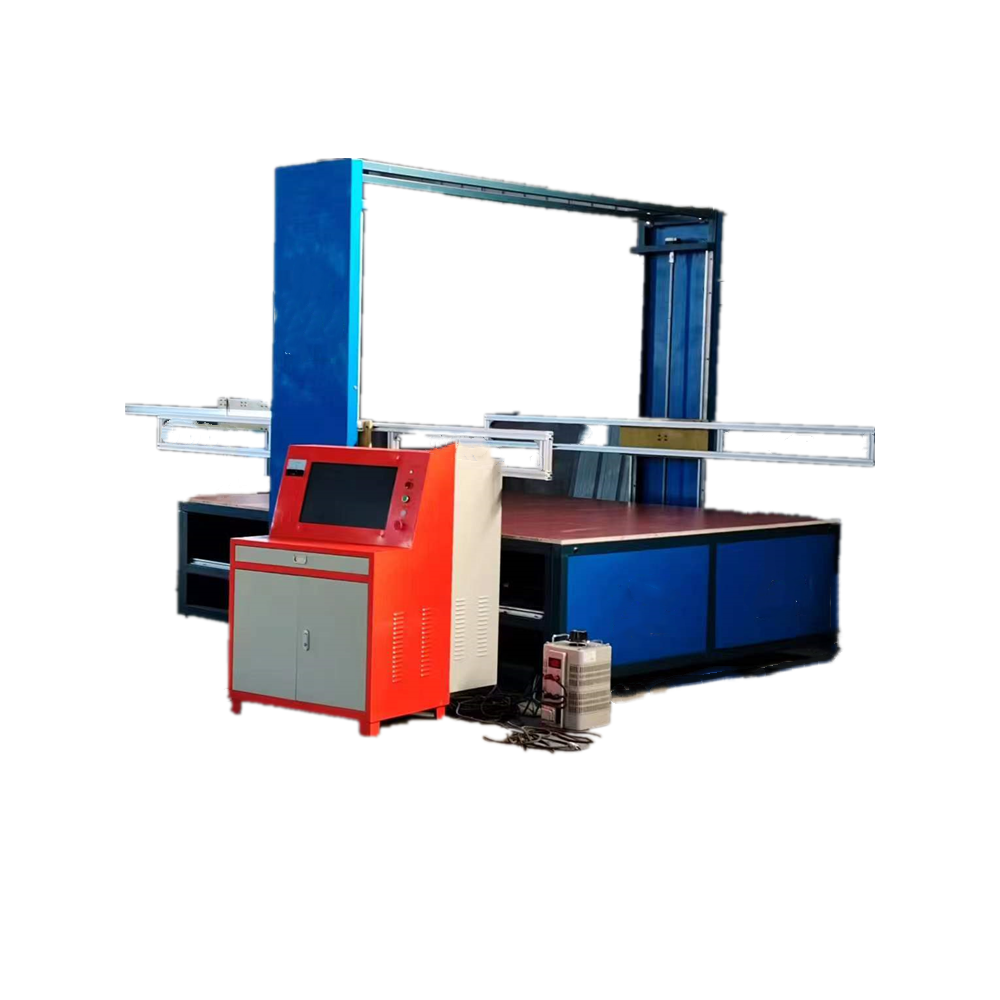
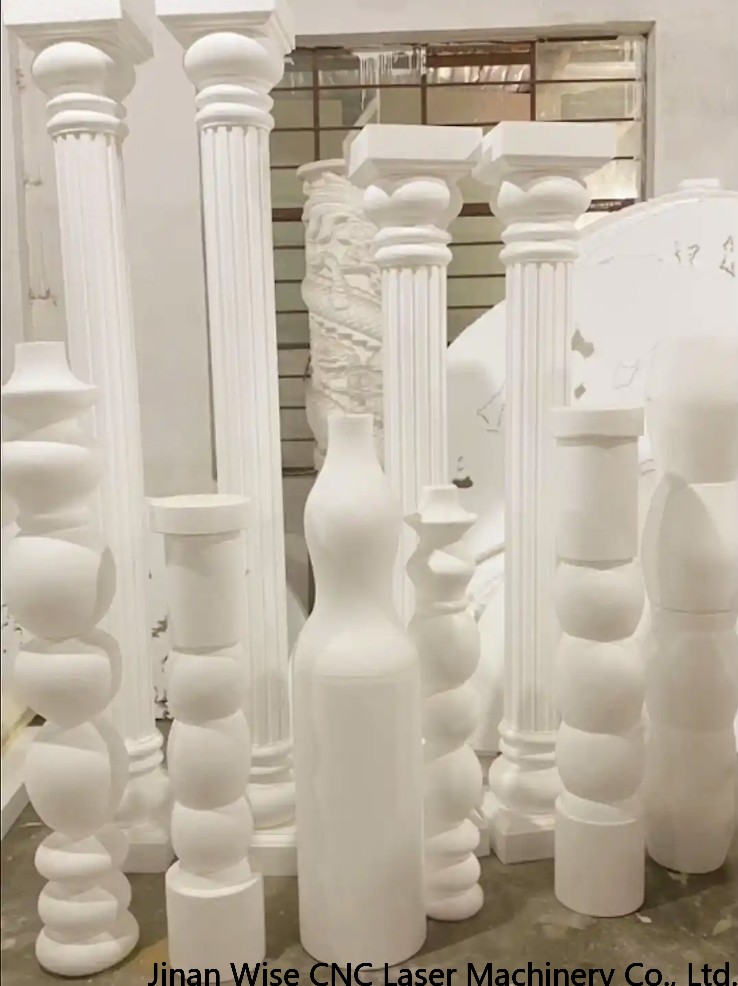
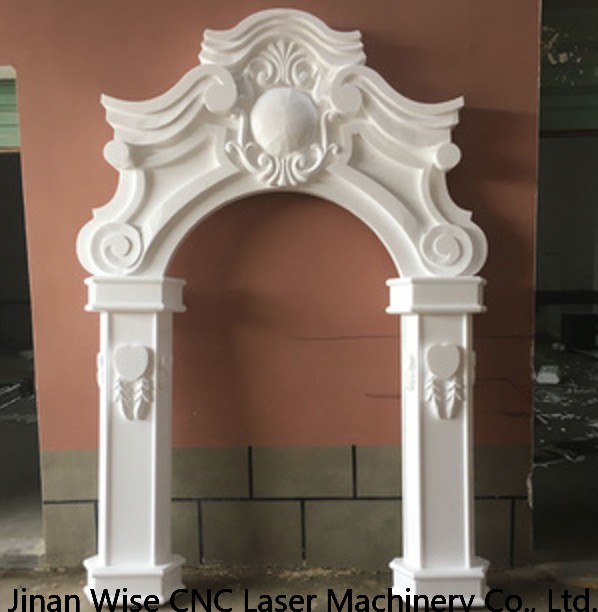
Our cnc foam carving machine can also be used for making roma pillar column. can use hand engraving tools or foam carving machine to engrave and modify the EPS material in detail. This includes engraving the texture, lines and decorative elements of the Roman column. During the engraving process, keep the technique steady and delicate to ensure that the details engraved are realistic and artistic.
Step 5: Splicing and bonding
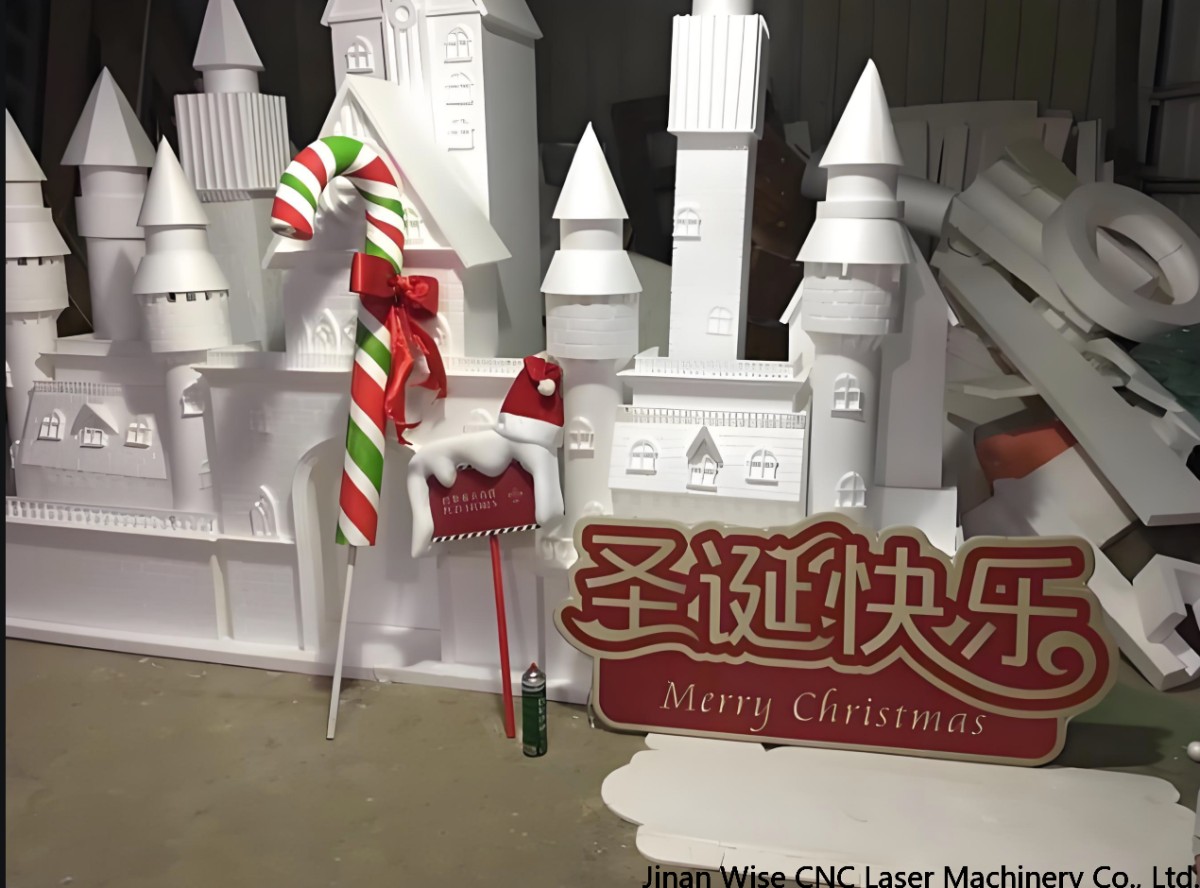
Splice and bond the carved EPS materials according to the design requirements. During the splicing process, pay attention to the alignment and tightness of the splicing to ensure the accuracy and beauty of the overall shape. At the same time, use an appropriate amount of adhesive to fix it to ensure that the connection is firm and not easy to fall off.
Step 6: Sanding and finishing
After the bonding is completed, the entire EPS Roman column head is sanded and finished. Use sandpaper to sand the surface to remove excess adhesive and uneven parts. At the same time, the surface can be colored or sprayed as needed to increase its texture and beauty.
Step 7: Installation and Fixing
Install the prepared EPS Roman column head to the predetermined position. During the installation process, ensure its stability and firmness. You can use a special fixing agent or screws to fix it to ensure that it is not easy to fall off or damage during use.
Related Products

